

(Psst: The FTC wants me to remind you that this website contains affiliate links. That means if you make a purchase from a link you click on, I might receive a small commission. This does not increase the price you’ll pay for that item nor does it decrease the awesomeness of the item. ~ Daisy)
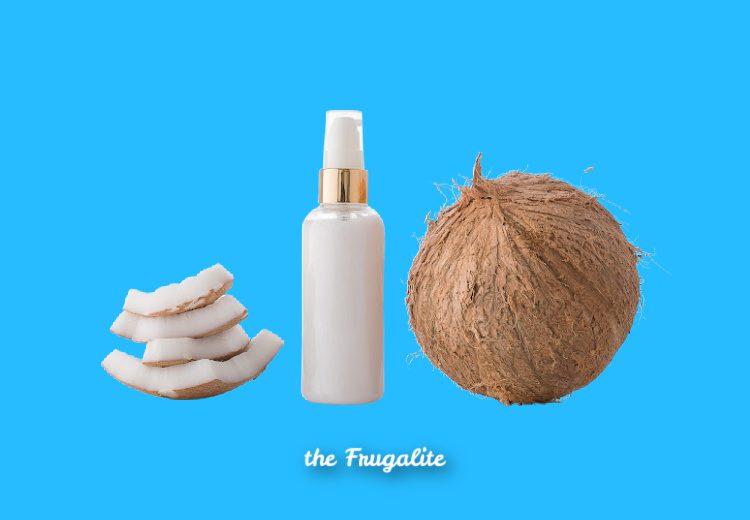
Are you sick of all the nasty chemicals in skincare products? Here’s how to make a homemade moisturizer you could actually eat. (And it’s great for dry skin!)
There are thousands of skincare products on the market, and the vast majority of them are filled with chemicals that have been linked to hormonal disruption, organ toxicity, and cancer. (You can learn more here.) And it seems like every time I visit the store, the healthier offerings cost more and more.
My solution to ALL of these problems is to make my own products.
The Ingredients
You only need three ingredients to make this moisturizer, and you can purchase them from Amazon in bulk. These amounts will be enough to keep you in skin cream for up to a year.
- Unrefined shea butter
- Organic cocoa butter
- Coconut oil (Get the big container. It has a billion other uses and won’t go bad.)
I don’t buy the ingredients pressed into blocks or pellets. I prefer them to have been handled and heated as little as possible before they come to me. However, if these are all that you have available, they’ll still be a far cry better than the products you get off the shelf.
Always do a little test by rubbing a small amount of each onto your forearm. Most people aren’t allergic to these ingredients, but you should always check yourself for sensitivity before you slather something onto your entire body. Also, check the texture so that you can strike the proper balance when making your products. For example, some people find that the cocoa butter is a little too heavy or greasy, so they reduce the amount of cocoa butter in their homemade moisturizers and increase the shea butter content.
Note: when you whip the cream, it will increase in volume substantially. Don’t worry if you end up with far more than you expected. It will keep well in a ziplock bag or jar in the fridge.
How to make your homemade skin cream.
Wash a couple of jam jars or other containers and dry them thoroughly. You can pop them in the oven on low to get rid of every trace of water. Make sure your containers are completely dry.
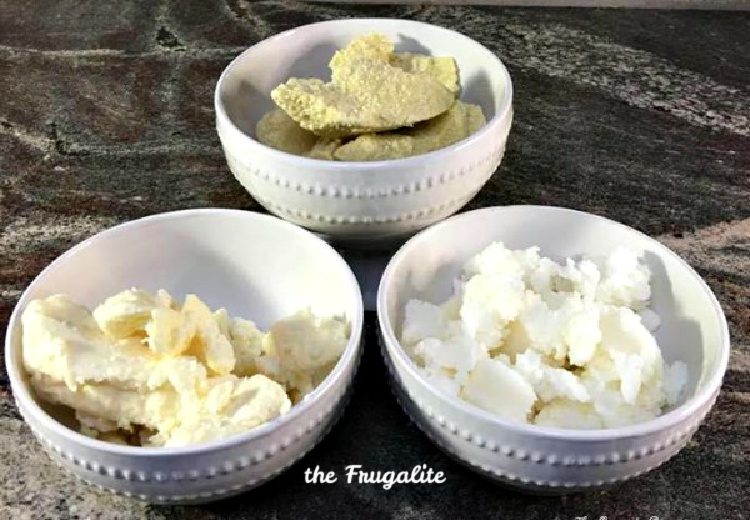
Step 1: Gather your ingredients.
I put all of them in these nifty little bowls. Bada bing, bada boom. Progress.
Step 2: Melt everything together.
Put equal parts of shea butter and cocoa butter into a bowl with half that amount of coconut oil. For example: 1 cup of cocoa butter, 1 cup of shea butter, and half a cup of coconut oil. Scale up or down based on your needs.
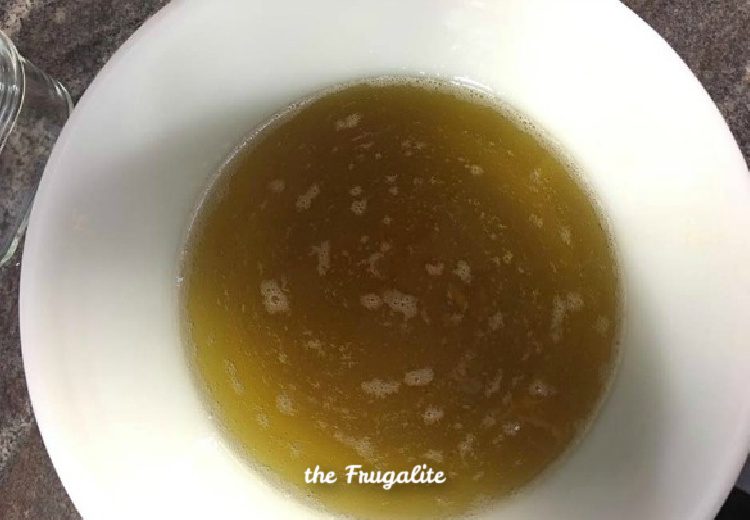
Melt your concoction in the microwave on low or over a pan of boiling water. You don’t need to get it boiling hot. Just warm it enough that it reaches liquid form and can be easily mixed.
Step 3: Thoroughly mix the product.
Using a whisk or a food processor, thoroughly incorporate the melted ingredients. I like to use the food processor to get a smoother product.
Unrefined products can sometimes contain tiny solids that will feel a teeny bit gritty upon application. It will absorb into your skin, but if the texture bothers you, strain the melted product through muslin or a flour sack towel.
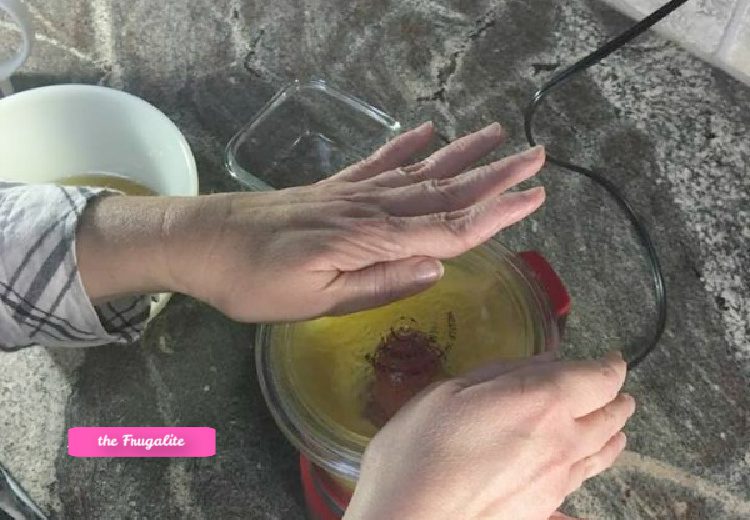
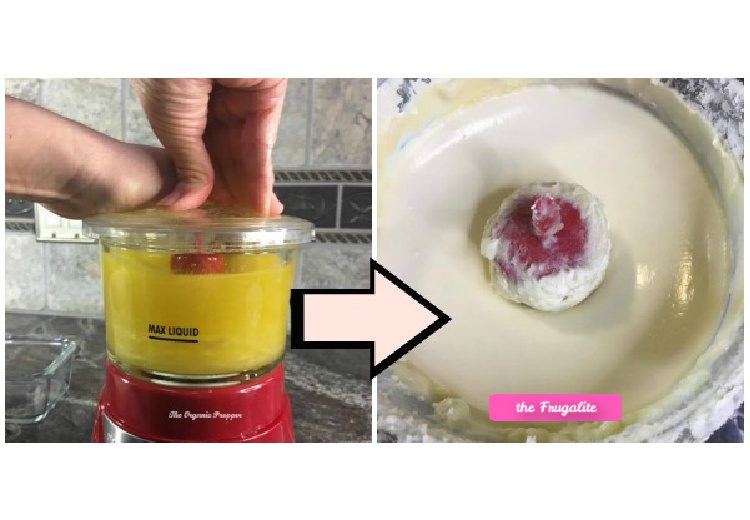
Put your product aside to cool at room temperature. If you put it in the fridge to cool, your result won’t be as creamy and smooth as it will if you just leave it on the counter for a few hours. If you used a food processor, don’t worry about washing it. You’re going to use it again, and you want it to be totally dry.
Step 4: Whip the product.
When the mixture is completely cooled, it will be an unappealing yellow color with something of a gooey texture. Don’t worry. We’re not done yet. Scoop everything back into the food processor and whip the melted mixture until it’s light and creamy in texture. You can do this manually with a balloon whisk, in a food processor, or using a stick (immersion) blender.
If you want to add an essential oil for fragrance, this is when to do so. I rarely add fragrance to this product because we use it on our faces for heavy moisturizing.
DO NOT use a regular blender for this. The product sticks to the sides, and there’s too much space to get a good whip.
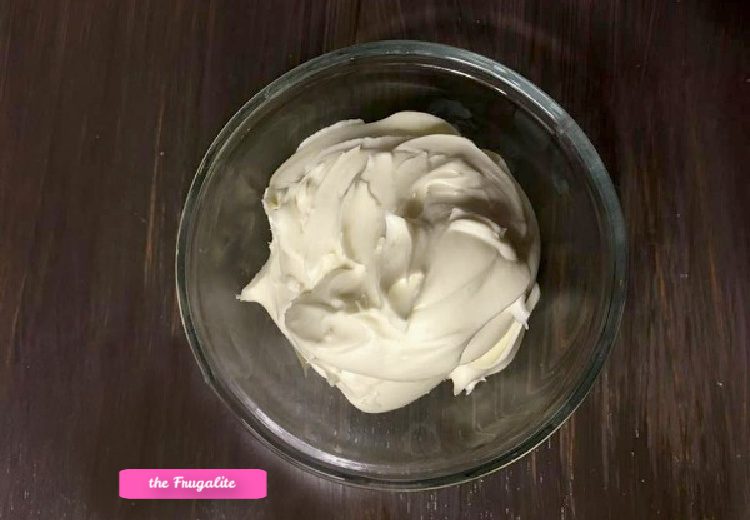
Watch as the yellow goo turns into the gorgeous, luxurious cream.
That’s it!
Scoop the product into your perfectly dry containers and store the cream in a cool dark place. How simple is that?
Some ways to use the moisturizing cream:
- Keep it in the fridge and use the block as a moisturizing bar that melts as it touches your skin. (This is especially refreshing in the summer.)
- Keep it on your counter. At room temperature, it will harden slightly but will soften as soon as you begin rubbing it on your skin.
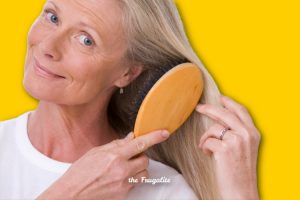
- Rub it through your hair once a week as an intensive conditioner, leaving it for a couple of hours before washing it out.
- Put it into small pots and use it as a lip balm.
- When you are finished making your skin soft and supple, blot the excess on your hands onto your hair. This is ideal for controlling flyaway frizz or curly hair. There’s not enough on your hands to weigh down your hair, and you’ll love the shine.
- Apply a thick layer to dry, cracked heels and feet. Put on heavy socks and go to bed. After a few days of this, your feet should be in much better condition.
Regardless of how you use it, a homemade moisturizer made from ingredients that you could literally eat beats a chemical-laden store-bought product every time.
About Daisy
Daisy Luther is a coffee-swigging, adventure-seeking, globe-trotting blogger. She is the founder and publisher of three websites. 1) The Organic Prepper, which is about current events, preparedness, self-reliance, and the pursuit of liberty; 2) The Frugalite, a website with thrifty tips and solutions to help people get a handle on their personal finances without feeling deprived; and 3) PreppersDailyNews.com, an aggregate site where you can find links to all the most important news for those who wish to be prepared. Her work is widely republished across alternative media and she has appeared in many interviews.
Daisy is the best-selling author of 5 traditionally published books, 12 self-published books, and runs a small digital publishing company with PDF guides, printables, and courses at Learn.TheOrganicPrepper.com You can find her on Facebook, Pinterest, Gab, MeWe, Parler, Instagram, and Twitter.


4 thoughts on “How to Make a Homemade Moisturizer You Could Actually Eat”
Thank-you so much for this! I am looking forward to trying it!
I ordered the stuff from Amazon and will try this out soon. I like that it’s multi purpose and no chemicals.
While natural oils make work for most people, I found out that using a natural oil based moisturizer triggered rosacea in my late 60’s. Once I stopped the oil it went away. Perhaps trying this in a small quantity to start might be a good idea. Or, perhaps I am an anomaly.
I made this cream a few years back, when I first read this article. It works great! I got the raw ingredients from my local natural foods store and it made a ton. I still have some in the fridge and it’s still good. I quit buying anything else for skin creams.