

(Psst: The FTC wants me to remind you that this website contains affiliate links. That means if you make a purchase from a link you click on, I might receive a small commission. This does not increase the price you’ll pay for that item nor does it decrease the awesomeness of the item. ~ Daisy)
by Rohvannyn Shaw
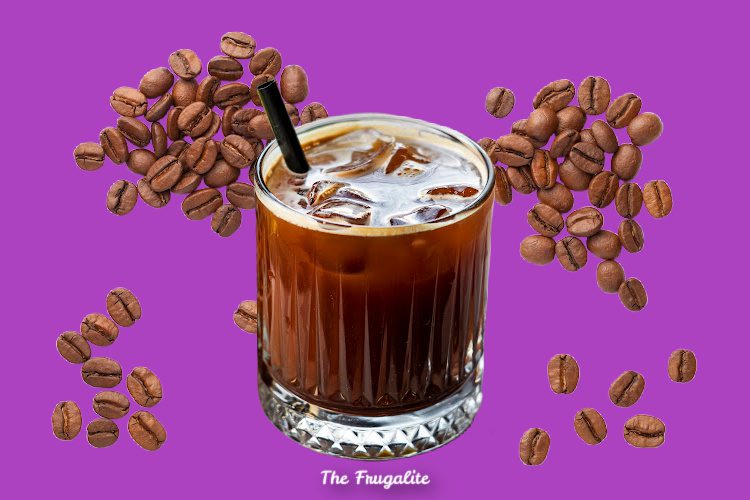
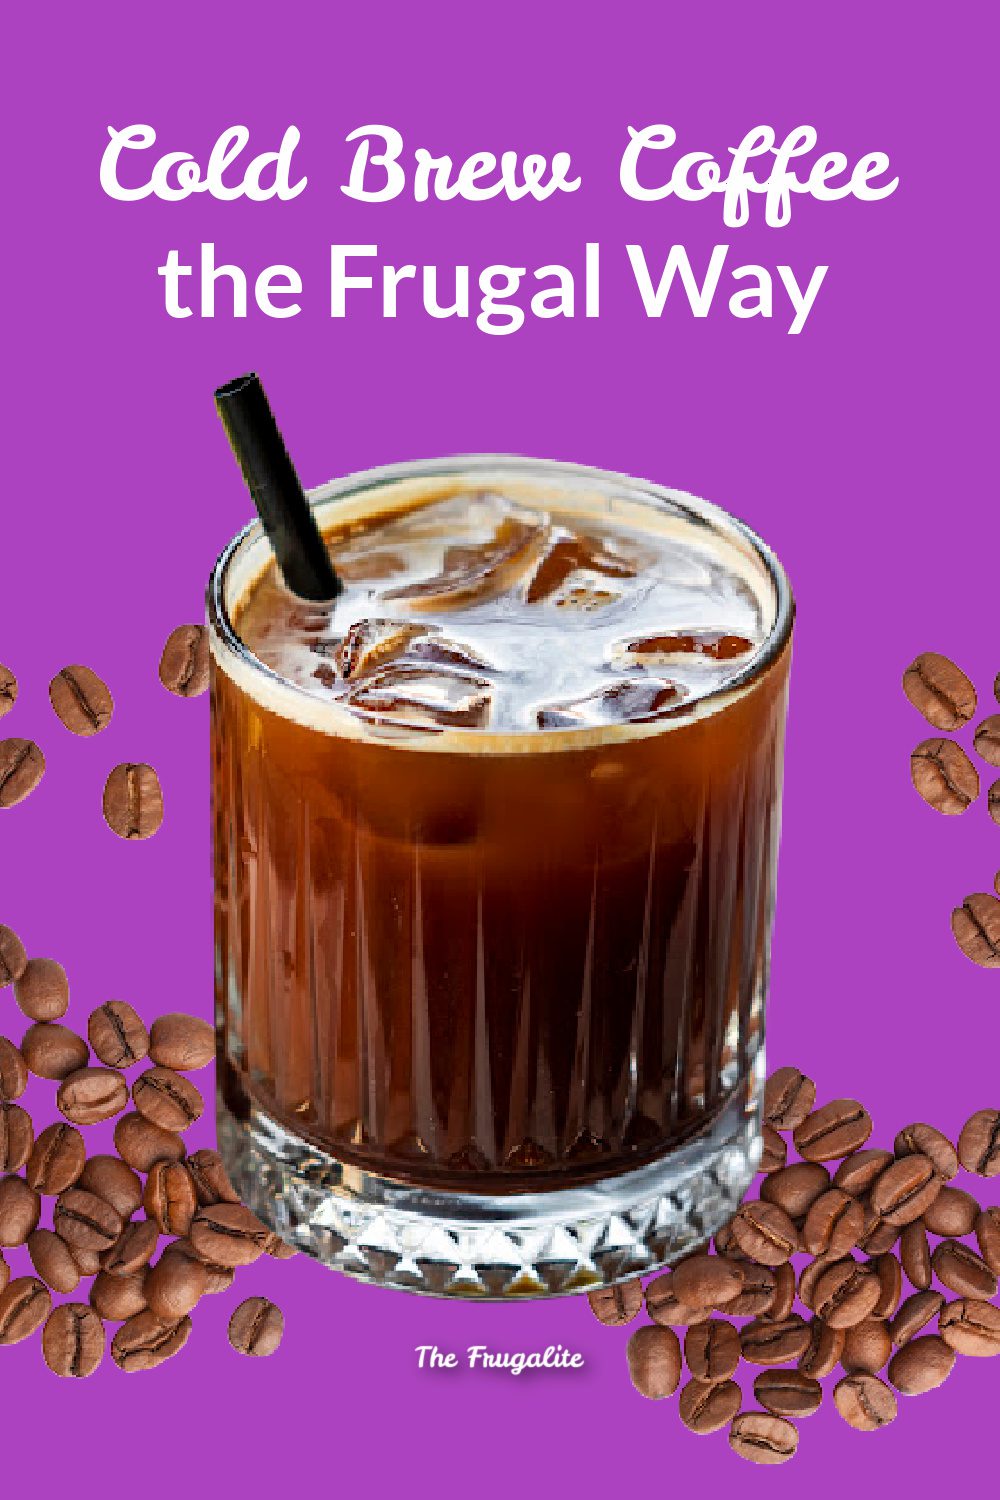
Specialty drinks such as cold brewed coffee can cost a fair amount at a coffee shop. Luckily, it’s not only easy but cheap to make this tasty, refreshing beverage that’s perfect for hot summer days!
It’s very customizable too, and you don’t have to heat up your house. You can cold brew in the fridge or at room temperature. As a bonus, it can make low-quality coffee beans taste a lot better. The cold brewing method also reduces acidity and preserves more caffeine.
Best of all, you don’t even need a fancy cold brew maker! I’ll provide two basic methods, and you can pick which works best for you.
Helpful equipment
- A big pitcher
- Mason Jars or other large jars
- Coffee filters, cheesecloth, reusable tea bags, or clean T-shirt material
- Rubber bands or binder clips
- Fine mesh strainer
What coffee should I use?
The best way to make cold brew is to grind your favorite bean. You could do that with an electric grinder, a hand grinder, or even a mortar and pestle. As a bonus, whole beans stay fresh for a much longer time.
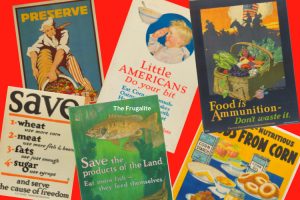
However, if you can’t or don’t want to grind your own beans, you can also use pre-ground coffee with success. In the US, I have found that Bustelo brand is a very affordable kind of coffee. It’s an espresso grind, sold in a bright yellow can. I think it tastes better than the more expensive name brands, yet it’s usually one of the cheapest coffees in the store.
If you are grinding coffee yourself, a coarse grind will make it easier to filter. However, a fine grind will mean you can use fewer beans.
How to Cold Brew
The basic method is to soak your coffee grounds in water for 8-24 hours and then filter it out. To some extent, the longer you soak, the fewer grounds you will need. I generally use about a half cup of grounds for two quarts of water to make a fairly strong brew. Experimentation is important here. On the bright side, you get to drink a tasty cold brew while doing so!
Method 1 – Filter Bags
One way to cold brew with a minimum of filtration is to take your grounds, wrap them in a coffee filter, and secure it with a rubber band. You are essentially making a giant teabag. Drop this in your vessel, pour in your water, and let it sit overnight. Using this method, I’d use about 1/4 cup of grounds per paper coffee filter and maybe shake it a few times as it’s soaking. Use a little less for a fine grind and a little more for coarse.
The advantage here is not having to filter afterward, though it makes a bit lighter of a brew. Don’t try to stuff too many grounds in each filter bag because the coffee needs room to expand. If you want a stronger brew, use more bags.
You could also use reusable tea bags for this method, but you’d want to make sure the mesh was fine enough not to let the coffee escape.
Method 2 – Soak, then Filter
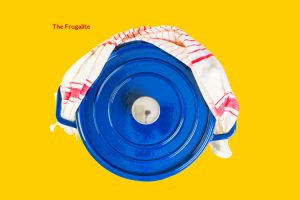
In this method, you just put the grounds directly in the water, let soak overnight, and then filter it in the morning. I have used a mesh strainer with a coffee filter set into it with pretty success. Cheesecloth or clean T-shirt material in your strainer works to make a filter as well. The main thing is to allow enough water flow but not the grounds.
Binder clips or clothespins can be helpful to secure the filter in your strainer so it doesn’t suddenly collapse. The strainer can go on top of a mixing bowl, a wide mouth jar, or a pitcher. Make sure the container is big enough to catch the coffee running.
Method 3 – an Actual Cold Brew Maker
Cold-brew makers usually have an integral, reusable filter. You put the grounds in the filter and pour the water over it, and secure the top. These cost around $20 online and last a long time, so they may be worth purchasing if you intend to make cold brew frequently.
Ideas for the final product
Whatever your method of making the cold brew, you can store it in a glass jar or the pitcher of your choice. Taste to see if it’s strong. If it is, you can either add water or use it as a coffee concentrate. You can also add things like vanilla extract or other flavorings to make specialty coffee.
A word of warning, though. Since no heat is involved, you will get a higher level of caffeine in cold brew than you do in regularly brewed coffee. However, since it’s less bitter, you won’t taste it as much. Some cold brews can be so smooth you hardly know what you’re drinking until you get the jitters.
Tip: If you are new to cold brew, don’t try it at night!
Leftover cold brew can make excellent coffee cubes for adding to drinks. It also makes a tasty addition to baked goods such as chocolate cake. It can make a low-cost coffee taste like a high-end drink, with a much smoother, cleaner taste than if you brewed the usual way.
Here are a couple more great articles for all you coffee lovers out there!
Now, Go Get Brewing!
Cold-brew is a fun and frugal way to make good coffee even more delicious, or low-quality coffee much more drinkable. We would love to hear how your cold-brew turns out! If you have any tips you want to share with us and other readers, join us in the comments section below! And don’t forget to bring your cold-brew!
About Rohvannyn
Rohvannyn Shaw lives in suburbia but still values old-fashioned skills and techniques. When she’s not preventing her sourdough starter from taking over the world, she’s baking, grilling, reading, writing, illustrating stories, gaming, or keeping up with her cats. She maintains a website dedicated to creativity at https://mind-flight.org, as well as an art portfolio at https://rohvannynshaw.com.


3 thoughts on “How to Cold Brew Coffee the Frugal Way”
I made cold brew coffee last night for this morning using Method 1! It’s delicious 🙂
Mmmmmmm! Thank you for sharing this fantastic idea. I made mine right away….I used a pint mason jar. I put the grinds into a coffee filter and then put the sealing lid on top. The edges of the filter hung over quite a bit. I then screwed on the rim. It wasn’t rock solid, but solid enough to hold the filter in place. Then, I nervously babysat my cold brewing coffee…..I took it out after 15 minutes…..is it working??? I put it back in…..after some time, I was able to see the coffee flavour coming out into the water. How exciting!!! The next morning, I took one sip….it was delicious and hard to describe….somehow subtler and softer than my hot morning brew.
I am planning to have mine tomorrow afternoon with some vanilla and milk. I can’t wait! Thanks for sharing this. It is a frugal way to make a gourmet treat. I have already been telling others about it!
So glad you enjoyed it !