

(Psst: The FTC wants me to remind you that this website contains affiliate links. That means if you make a purchase from a link you click on, I might receive a small commission. This does not increase the price you’ll pay for that item nor does it decrease the awesomeness of the item. ~ Daisy)
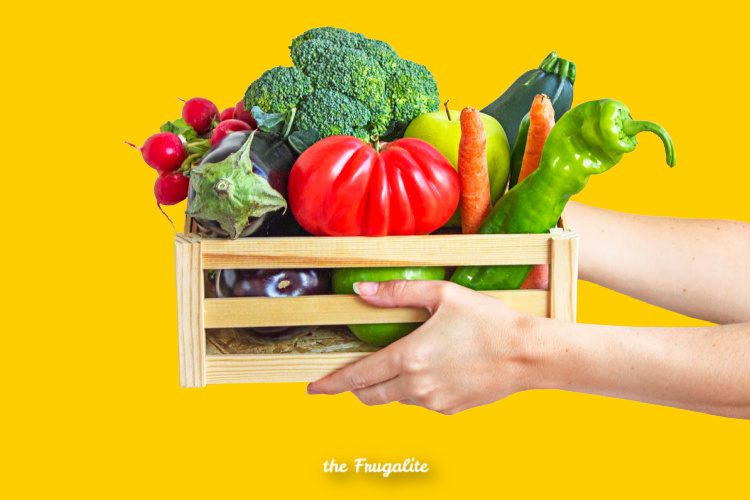
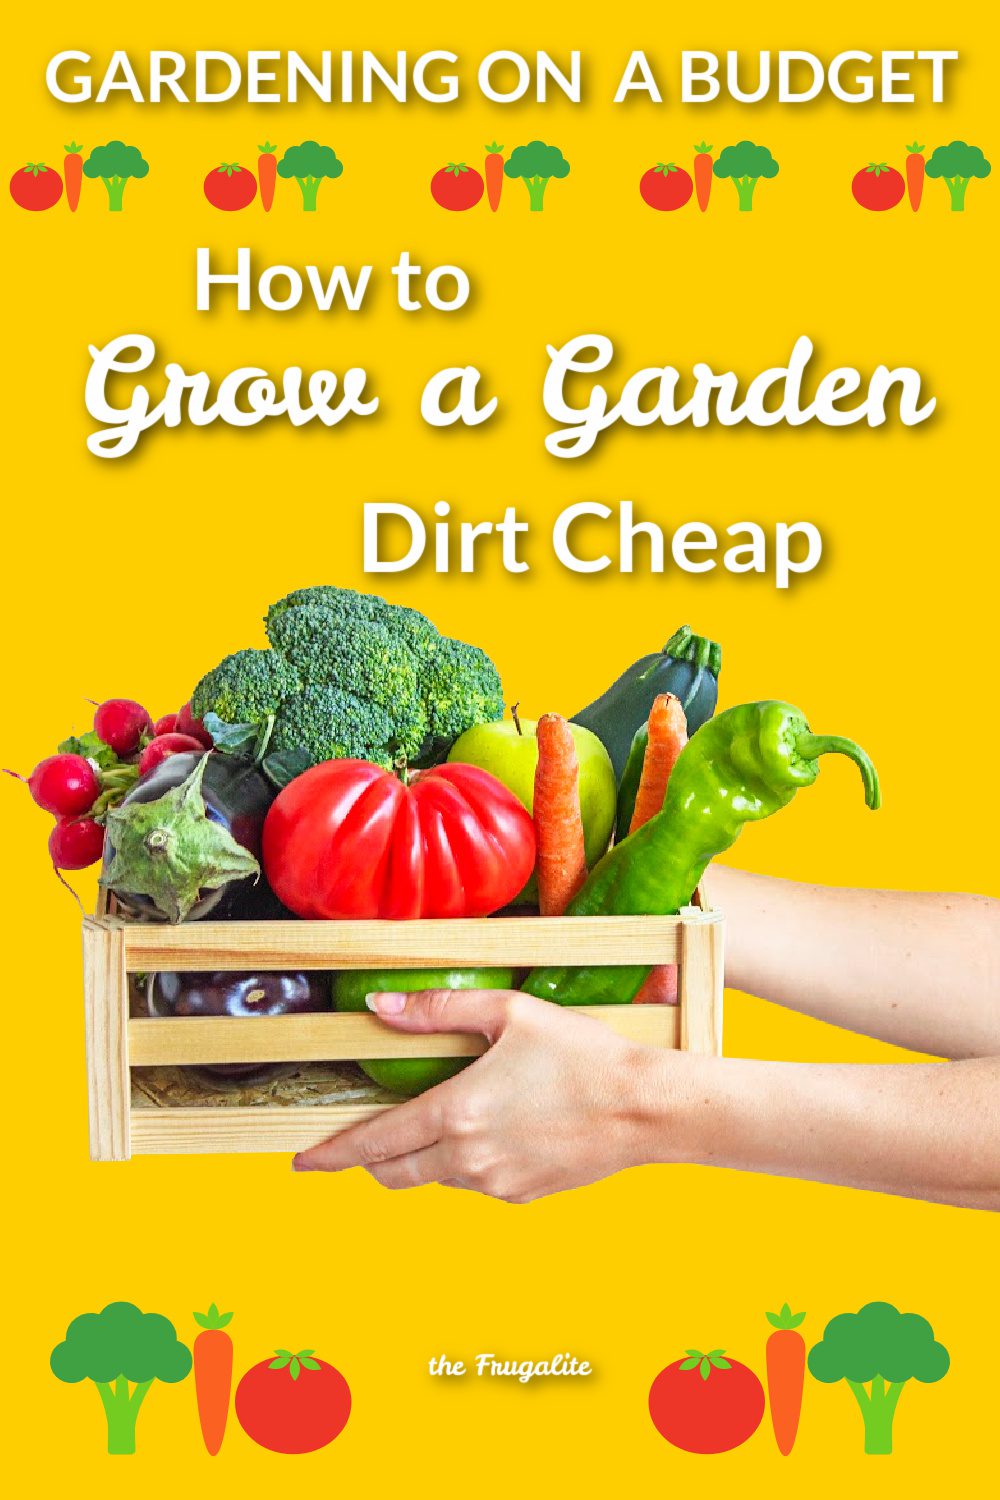
With a bit of effort, you CAN grow a garden dirt cheap! I know because I have done it! Gardening is one way to be more prepared for emergencies and save money on your regular grocery budget. However, starting a garden can quickly get expensive.
For most of my adult life, I’ve lived on a really tight budget. Currently, I’m a stay-at-home mom with four kids. We mainly live off my husband’s income. Some years it’s been extremely tight, but I’ve still managed to have a garden for cheap or even for free. This is how I do it!
Fencing Can Be a Huge Gardening Expense!
Sometimes a fence isn’t really needed. I’ve had some gardens that were not fenced and never had a problem with deer or rabbits. My current garden spot is in a high-traffic deer area where I had to get serious about fencing!
You can often scavenge fencing supplies for free on Craigslist or from local Facebook pages. Sometimes it’s an old fence that someone wants taken down. Other times, it’s scraps of wire or old posts all taken down and ready to haul away.
A few years ago, someone gave me some scraps of an old woven wire fence. I use them all the time and have found I can make a circle with one or two scraps that don’t even need fence posts. Although it’s short enough that the deer can jump over, deer don’t like small areas, so they typically don’t jump into my small circular fences.
Check out this article for more frugal fence building tips!
There Are Affordable Fencing Options.
Another fencing option I’ve used is T posts spaced 8-10′ apart with cheap plastic deer netting zip-tied to the posts. You can find affordable deer netting at most garden centers. I’ve had good luck with this method as long as it’s for a small area, again because deer don’t like confinement. 10′ x 20′ worked great, as did 15’x75′. But when I tried a larger 50’x60′ area, the deer just blasted through it and destroyed it.
My current ⅛ acre garden has had the most deer problems. I had to up my game a bit when it came to fencing and ended up using a heavier-duty plastic deer fence the deer can’t break. Using wood posts at the corners and T posts for the rest supported the heavier duty fence. To make the gate I stapled fencing to a frame made of 1×4’s. The frame pivots on a flat-topped rock and is attached to the fence with baling twine. You can read more about these three fencing options here.
You Can’t Grow a Garden Dirt Cheap Without Great Dirt!
If the soil you are starting with is compacted or has many weeds, you’ll need to do something to prep the soil. That doesn’t mean you need to hire a tiller!
- First: kill the weeds. You can do this by smothering them with a tarp, a sheet of plastic, or even wet cardboard held down with rocks.
- Second: loosen the soil. You can do this by hand with a broad fork or turn it over with a shovel. A less labor-intensive way is to pile compost on top, encouraging the earthworms to loosen up the soil beneath.
- Third: add some nutrients to the soil to help your plants grow. Although expensive to buy, you can easily make your compost for free. (see below)
Charles Dowding’s gardening method combines the three steps of garden soil preparation mentioned above. You can find him on YouTube, and he is the author of Composting for Beginners, How to Create a New Vegetable Garden: Producing a Beautiful and Fruitful Garden from Scratch and more!
How Can I Make Compost For Free?
Craigslist is a great place to find free animal manure. You can also call local farms and ask. When I started my most recent garden, I borrowed a truck and hauled at least 15 loads of free horse and chicken manure home, along with a few loads of leaves. If you go this route, it’s essential to ensure there are no herbicides and that the manure is heated up to kill weed seeds.
To do this, I make a big pile of all the compost materials I bring home and add water to soak the pile. You can cover it with a tarp or just wet it down once a week. It should get hot and steamy inside if you dig into it with a shovel. The heat is what kills the weed seeds.
Some herbicides used on hay can travel through the animals and keep your vegetables from growing. Although I always ask before bringing manure home, I also test the finished compost to double-check. To check for herbicides, mix some of your compost with 50% dirt and plant a bean seed in it. Beans are one of the more sensitive plants to herbicide exposure. Within 1-2 weeks, if the bean plant grows normally, it’s safe to add the compost to your garden.
If you are using compost in your garden, you don’t need to buy fertilizer.
Seeds Are the Most Important Part of Your Garden!
You might be able to get seeds for free. Some libraries give you seeds to plant, and once they grow, you save some seeds from your plants to return to the library and keep it going. You can also ask for a seed swap. You can find some good seed swap groups on Facebook. Typically people on seed swaps trade different kinds of seeds. But, you can ask for seed donations to get your garden started. Look for local gardening groups and ask if anyone has extra seeds.
Don’t be afraid you use seeds that are a few years old. Most seeds last at least several years. [source]
Plant Starts Can Be Expensive, But There Are Better Ways!
Most plants can be started directly in the ground as seeds, and many grow better that way. Plants often started indoors include tomatoes, peppers, onions, celery, broccoli, and cabbage.
You can sometimes get these for cheap or free from other gardeners who planted too many. Or you can start them yourself! At my old house, I had a large south-facing window. I was able to start seedlings on the windowsill without any grow lights.
There aren’t any good windows for starting seeds in my current house, so I had to get some grow lights. My first two grow lights were free with a whole pile of pots and other gardening supplies, and they worked great as soon as I plugged them in! Later on, I picked up some old fluorescent shop lights for $10 each, which work just as well as the fancy grow lights.
Don’t have a yard? Check out this article: How to Have a Vegetable Garden When You Don’t Have a Yard.
Saving Seeds for Next Year’s Garden.
Once you’ve found some seeds or plants to start with, saving seeds is an easy way to get free seeds for next year and make your garden self-sufficient.
There are a few essential things to know when it comes to saving seeds, such as which types of plants can cross. Did you know pumpkins can cross with zucchini and broccoli with kale? Also, how to get seeds from plants that don’t usually make flowers in the garden.
If you need help, be sure to check out my online course for beginning seed savers.
If you have a bit in your budget for seeds, we highly recommend buying them from Seeds for Generations. You will be helping to support a small family business that sells 100% heirloom/open pollinated seeds. And, they don’t sell GMOs and have taken the Safe Seed Pledge.
Preserving Your Harvest.
Once your garden is growing, you’ll need a way to preserve all that produce for winter! I use a combination of canning, freezing, dehydrating, and pickling. Daisy over at The Organic Prepper has lots of great articles on canning and she is the author of The Prepper’s Canning Guide.
The cheapest way to preserve food is through dehydration. You don’t need a dehydrator to dry your produce. My favorite way to dehydrate food is in the car! I spread out the food on cookie sheets or cooling racks, face my car towards the sun on a warm day, and place the trays on the dashboard. Easy and free!
Fermenting is another free way to preserve your food. It doesn’t require actual mason jars like canning. You can recycle glass jars that other foods came in. Fermenting uses the natural bacteria present in foods to pickle them and prevent spoilage. Fermented foods need to be stored somewhere cool, such as in a fridge or root cellar. I keep mine in an unheated basement at my friend’s house.
Grow a Garden Dirt Cheap AND Have a Blast!
Gardening is a blast and even better if you can do it for dirt cheap! Once you get started, you’ll never want to stop. Do you have any dirt cheap tips you would like to share with other readers? Have you found any free or inexpensive ways to grow your garden? Let’s talk about it in the comment section.


2 thoughts on “Gardening on a Budget: How to Grow Food Dirt Cheap”
Great article, with some great suggestions! There are a few things I would add however.
1) if you’re in the city, check both composting and fencing regulations. For example, I’m required to have my compost pile contained in some way. I can’t just have a pile in my yard, even covered with a tarp. And fencing regulations are a chapter of the city code unto themselves. Happily, chicken wire is cheap and keeps the rabbits out.
2) When saving seeds, be sure you have heirloom plants or at least stabilized hybrids. Otherwise you won’t get the same plant you had last year. This doesn’t have to be a huge problem but it’s something to be aware of.
3) When I’m starting plants indoors (zone 5b) I have to start in January-February, when it’s still winter. That means grow lights and a heat mat, because when it’s -30 outside it’s cold everywhere. Heat mats are cheap, happily.
4) Speaking of growing indoors over the winter, I’ve tried this with varying degrees of success. My tomatoes grew but never would set fruit, and this includes dwarf varieties under grow lights. My greens never really got that big either though I did get some.
Great points to scrounge, scavenge, and repurpose! I got my grow rack, two shelves with trays and bulbs, for $40. It’s served me every season though I did have to replace the bulbs this year. Chicken wire is cheap. If you’re in the city, ride around at the end of the month and look for move-outs. People leave piles of stuff on the curb. Some of it might be useful. And free.
Good luck fellow gardeners!
I have been living the lifestyle for decades. When it becomes part it’s just routine. Over the years I’ve managed to establish a small Orchard apples pears and peaches also have a blueberry patch and grape vineyard and a variety of hops. A large Greenhouse and nearly a quarter acre of garden. All with 12 ft chicken wire fencing. Much of it is sold, and once a month I head too the Food Bank and hand out food for free. I also grow an acre of sweet corn and on the other side of one of my hayfield’s I do 10 acres of Dent corn to feed the livestock. All this does not come without work but it is a labor of love. I also have dozens of beehives, cattle, pigs and a couple horses.
Canning jars can last indefinitely if you clean them out when you’re done using them. And Lids can often be reused several times as well. But suggest having wax as a backup for sealing lids.
For those who live in apartments or in a major unsafe City in general, I would suggest having sprout seeds stored. They are inexpensive, just make sure you purchase them in a sealed mylar bag. Sprouts can be growing with very little if any light take up little space and need very little water. In fact you can often cover them and recuperate any transpiration since growth time is short and there’s no time to create a mold or fungus. Many varieties like buckwheat you can get a few cuttings before needing to replant. Mushrooms is another good indoor crop and can have excellent medicinal purposes. Point is you can grow these indoors inconspicuously and no one needs to know. In the case of a volcanic winter, mini ice age or extreme weather conditions growing indoors may be the only option.
Rabbits can often be kept in very little space. And can offer a fresh source of meat. Just try not to make a pet out of them. LOL. Also small play pools 10 or 12 foot in diameter and 3 to 4 ft deep. Is large enough to keep a few catfish, bluegill,and Minnows. This could also offer fresh meat inconspicuously and take up very little space. Many times these could be purchased in the fall on clearance sales for under $100. And the pump running a few hours a day is all that’s needed to keep the water aerated. And after a year or so if you allow the algae and other plants to take root it will create its own oxygen and ecosystem. Just a few ideas.