


(Psst: The FTC wants me to remind you that this website contains affiliate links. That means if you make a purchase from a link you click on, I might receive a small commission. This does not increase the price you’ll pay for that item nor does it decrease the awesomeness of the item. ~ Daisy)
By the author of The Faithful Prepper and The Prepper’s Guide to Post-Disaster Communications.
Who doesn’t love a bagel for breakfast? If you love the flavor and consistency of a bagel sandwich in the morning for breakfast but don’t want to spend the $8 from your local café to put one in your belly, what are you to do?
Here, we’ll show you how to make a simple budget-friendly batch of bagels for a minimal amount of cash.
Step one: Feed your sourdough starter.
Yes, you are going to need a sourdough starter in order to make these bagels. We aren’t going to go over how to make one of these today, as there are numerous other sites out there that will tell you exactly what you need to do to make a sourdough starter kit.
Provided you have one, the first thing you need to do is to feed it eight hours before you’re going to make your dough. After your eight hours have passed, the starter will be ready for the next step.
Step two: Make the dough.
Once your starter is bubbly and active, you’re ready for this step.
- ½ cup of sourdough starter
- 1 tablespoon of honey
- 2 teaspoons of salt
- 4 cups of King Arthur all-purpose flour (seriously, after half a dozen attempts with other flour, you need King Arthur flour)
Mix all your ingredients together until you end up with a big ol’ dough.
The most expensive part of all this is going to be your flour. King Arthur flour is right around $4/5 pounds, and four cups of flour weighs just around a pound, so you’re looking at a little less than a dollar’s worth of flour here. The price of two teaspoons of salt is negligible, and the price of a tablespoon of honey is just a few cents.
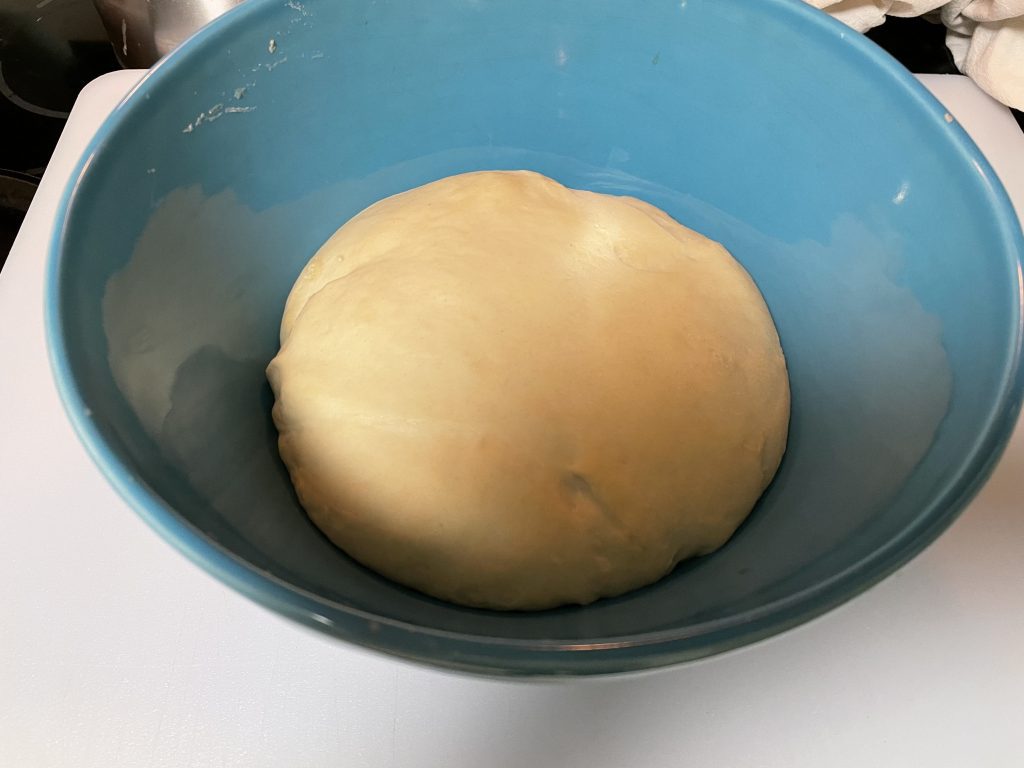
Step 3: Let it rise.
Now that you’ve made your dough, you have to give it time to rise. It’s going to take roughly 8-10 hours for this to happen, during which time the dough should double in size. So, make sure you’ve put it in a bowl big enough to accommodate the growth of the dough.
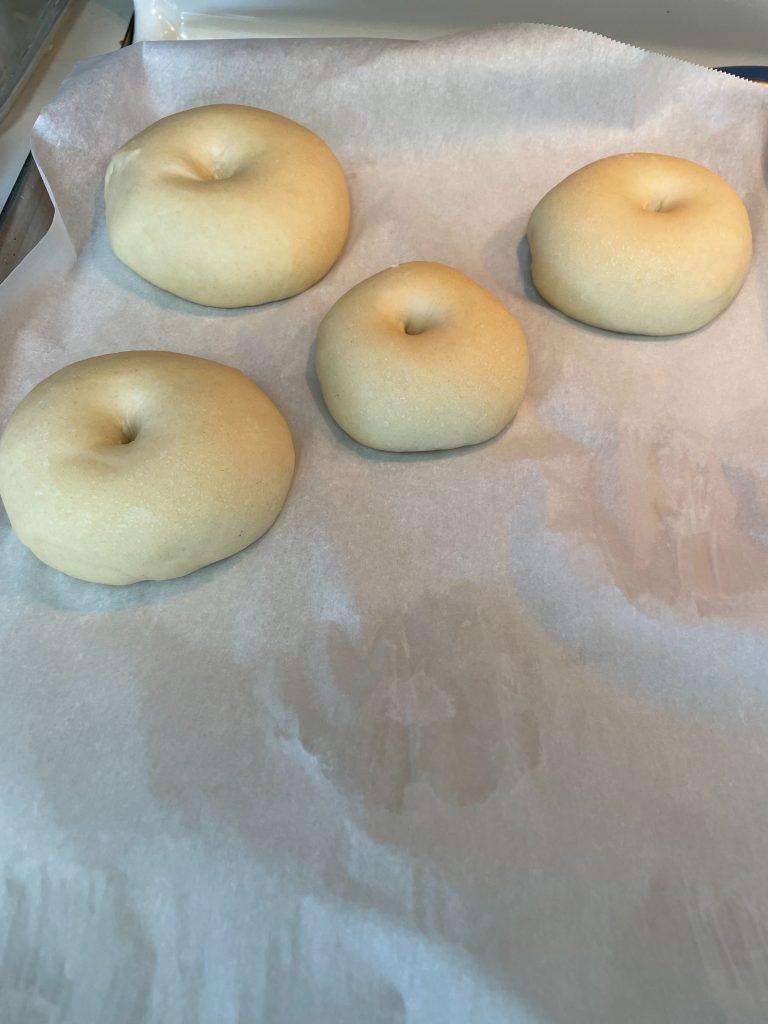
Step 4: Divide the dough into eight little circles

These are your bagels. Or, pre-bagels, rather. You’re going to take them out, put them on a baking sheet, and punch little holes in the middle of them.
Now, let them sit on the stove for 2-4 hours so that they can rise, becoming puffy in the process.
Step 5: Boil a pot of water.
Just make sure it’s a big one so that your bagels will be able to fit in it.
Step 6: Add your sugar and baking soda.
Throw a tablespoon of sugar and a tablespoon of baking soda into your boiling water. Stir it around a bit to get it to all mix up.
Step 7: Drop in 2-3 bagels into the boiling water at a time.
Your bagels should float atop the water within 2-3 minutes of boiling. If they sink, it’s because they didn’t rise enough before you went to this step. It’ll still work. It’ll just be as dense as a rock. Poofy bagels float because of the air pockets inside of them.
You want to let these bagels float for one minute on each side.
Step 8: Put the bagels on parchment paper.
Use some type of implement for fishing your bagels out of the boiling water without scalding yourself, placing them on a sheet of parchment paper on a baking tray. Repeat steps 7-8 until all of your bagels have been boiled and are now set on the baking tray.
You’re probably going to want to turn your oven on at this point.
(Side note: If you want bagels that aren’t plain, this is the point at which you would add your flavoring.)
Step 9: Bake your bagels.
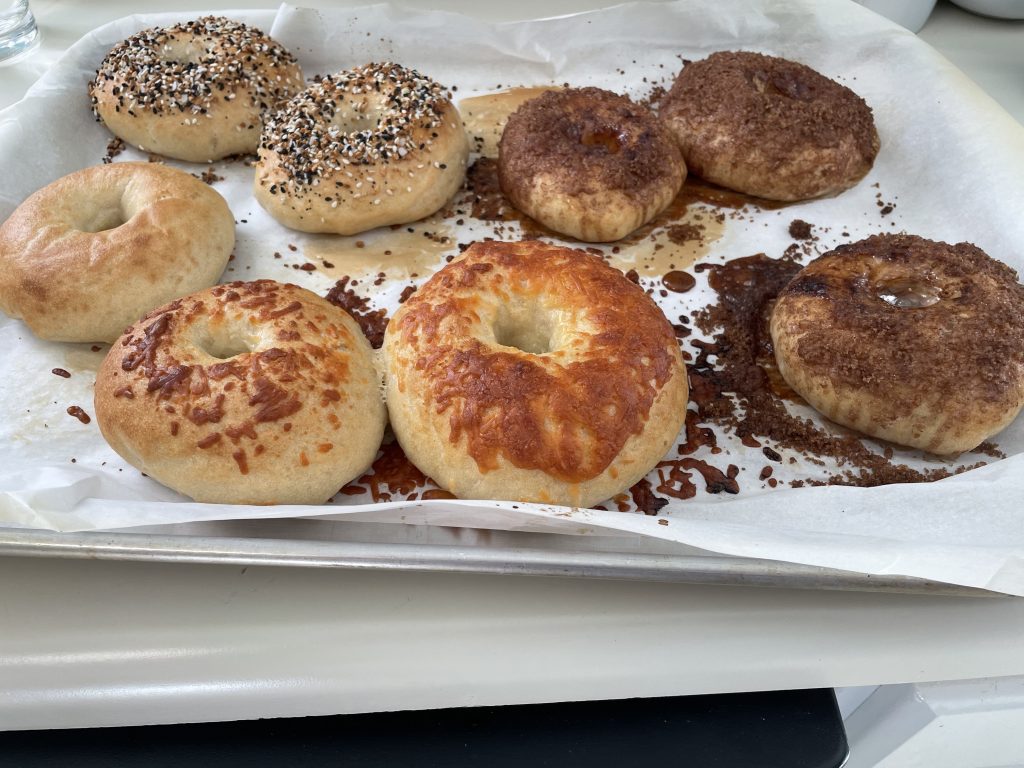
You want your oven to be 425-degrees. You’re going to put your tray of bagels in there for 20-25 minutes or until they’re golden brown (whichever comes first). After that, take them out, let them cool, and you’ve successfully made your own bagels!
Step 10: Eat them.
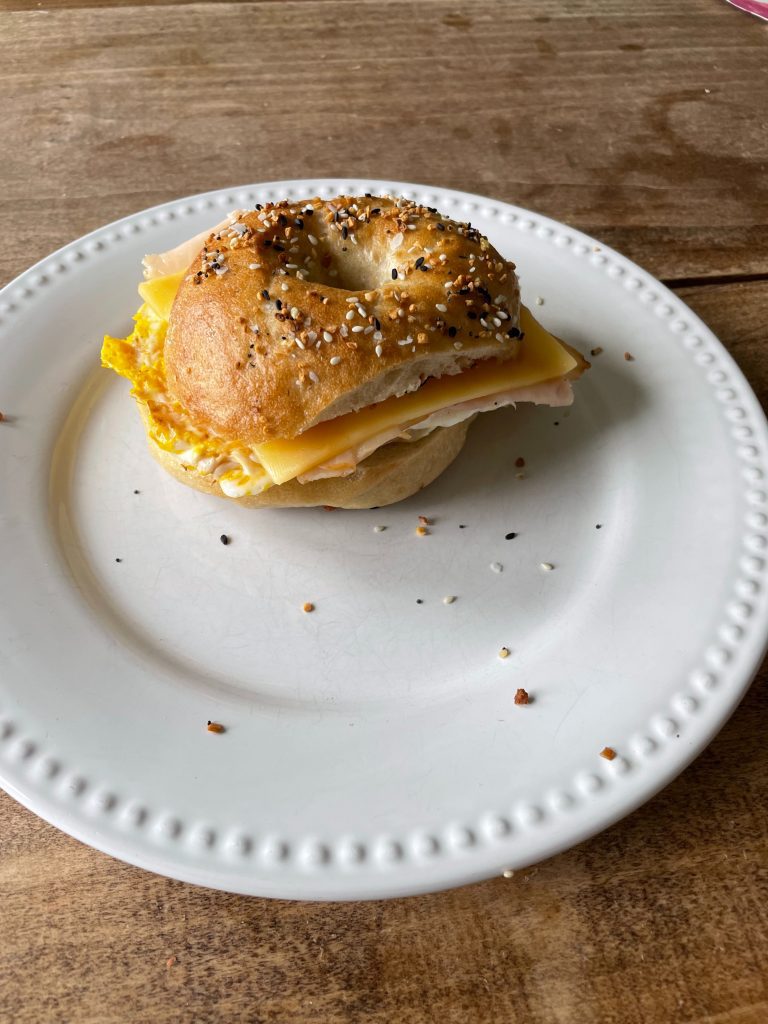
This is the best part. Fry up an egg, fry some turkey, and then throw it all together with a big ol’ piece of melted Gouda on top of your bagel. It’s fresh, it’s hot, and I know exactly what went into it. I don’t have to worry about high fructose corn syrup, preservatives, or any other funky stuff going into my bagel.
There’s a minimum of ingredients and a minimum amount of expense. That’s a winning combination if you ask me.
What are your thoughts on homemade bagels? Do you think they can save you money? Have you ever made them yourself? If so, do you have bagel-making tips? Let us know what you’re thinking in the comments below.
About Aden
Aden Tate is a regular contributor to TheOrganicPrepper.com and TheFrugalite.com. Aden runs a micro-farm where he raises dairy goats, a pig, honeybees, meat chickens, laying chickens, tomatoes, mushrooms, and greens. Aden has three published books, The Faithful Prepper, The Prepper’s Guide to Post-Disaster Communications, and Zombie Choices. You can find his podcast The Last American on Preppers’ Broadcasting Network.


7 thoughts on “How to Make Your Own Bagels on the Cheap”
Seeing as I have about two bagels a year (and that’s when I visit the NYC area), I’m gonna pass on this. Wayyyyyy too much work.
Nice idea! I bake most of the bread we eat and have a healthy sourdough starter so this is a natural. I also like the idea of making smaller bagels for better portion control. Most big puffy store bagels are at least two servings of bread, if not more, and that can be a problem.
Two additional tips – if you use a little more sourdough starter or have a nice active culture or have a good warm place to put it, or all three, you might get a full rise in four hours or so rather than 8-10. Mine only takes three to four hours.
Also you can get a very cheap historical sourdough starter by searching for something like “Oregon Trail sourdough starter” or “1847 sourdough starter.” You just pay the postage if it’s from the right place.
Making my first bagels today!
Over the years, I’ve made bagels twice, neither of which was sourdough. Same recipe both times. The first time, they were wonderful and just as good as the bagel shop. The second time, they were barely edible. Actually, they weren’t edible and could’ve beecn used as slingshot ammo.
But after reading this, I’m ready to try again. Grocery store bagels are mostly awful. They’re dense and too sweet. Central Market (the Texas version of Whole Foods) has some wonderful ones, but very pricey.
A note about flour: I’m very cheap, but the author of this article is correct about King Arthur Flour. It is superior. I don’t buy it very often, but I could hardly believe how much better my pizza dough was using KAF.
I meant to say that it was King Arthur Bread Flour that made the difference in my pizza dough.
Thank you for this article. My husband and I love bagels and enjoy them for breakfast quite often. I am not big on baking (love to cook!), but do make sourdough bread. So yeah, I am going to get some King Arthur Flour and get to making my own bagels!
Report after the Great Bagel Experiment: I prefer King Arthur flour but got some good results with some random Blue Bird All Purpose flour I had lying around. Great texture actually. My starter took 2 hours for the first rise, roughly, and about an hour for the second. Results not typical for most, I’m sure. Thanks for the recipe!