

(Psst: The FTC wants me to remind you that this website contains affiliate links. That means if you make a purchase from a link you click on, I might receive a small commission. This does not increase the price you’ll pay for that item nor does it decrease the awesomeness of the item. ~ Daisy)
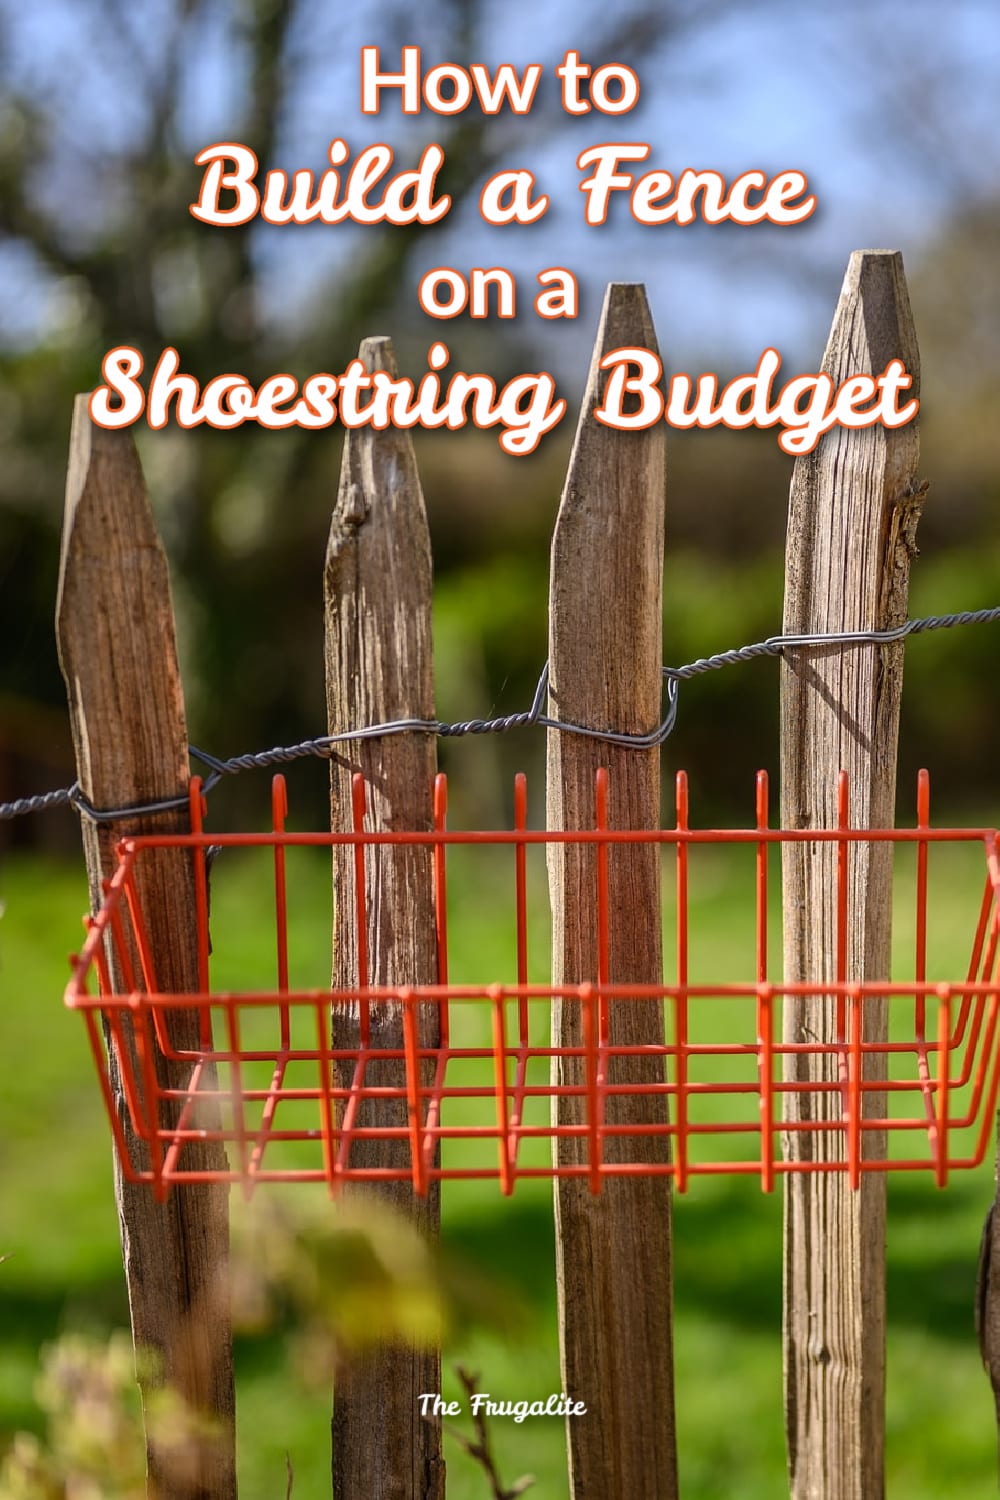
This article tells the story of how I fenced a 20 by 30 foot garden on my homestead on a shoestring budget. Even if you don’t need a fence around your garden for deer and rabbits, I hope you can find inspiration in the story of how one woman built a hundred feet of successful fencing herself (her first time!) for less than US$1 per foot. Here’s how I built a fence on a budget.
The Background
I’m a homesteader aiming to grow as much of my own food as I am able. What makes that difficult is “the competition.” My rural area includes the usual suspects of deer, rabbits, and small rodents like meadow voles. (I am not even going to touch on the insects in this article, ARGHHH!)
When I moved on to my Half-Acre Homestead, I noticed not one but two deer bedding areas. My land is part of a meadow area that connects two lakes. The deer travel through this meadow area regularly. Just this morning, I witnessed a doe and her spotted fawn (Bambi!) running through my meadow to get to the forested lake area. They had to cross a busy road. Thankfully, they both made it. The fawn had to jump a pretty high fence on my neighbor’s property!
There was also an established rabbit population with a den just under where I put my solar panels. The rabbit and I have had an uneasy truce. I won’t bother her if she doesn’t go into my garden. This year, however, there are babies. So far, so good with our truce.
I began my garden area at the front of my lot and decided on a 20 by 30 garden to start. I knew I was going to need to fence it if I was going to have a chance. However, I had spent every cent I had to buy the lot. I had put a well in (CA$5,000) and paid that contractor on a payment plan.
How I Got from Zero to One Hundred Feet
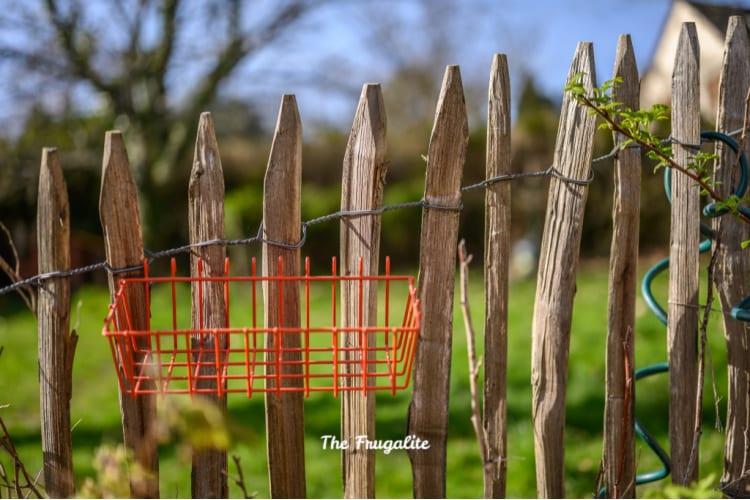
I needed a hundred feet of garden fence but had virtually no budget. Thankfully, fate intervened. A farm down the road was liquidating a workshop full of stuff as part of an estate sale. One Sunday afternoon, I happened by and was able to get 50 feet of very sturdy orange snow fencing for CA$15. It was a start! I searched big box stores in the nearest city and found some more orange snow fencing on clearance for about CA$35. I know it sounds funny now, but I wanted it all to match.
Why did I choose the snow fencing? Deer can jump as high as 8 feet, and my fence is only 4 feet high! I had done some research on deer psychology. Apparently, they like to be able to see where they are going to land. I was hoping the texture of the snow fence would obscure what was in the garden enough to deter them from jumping in. If this didn’t work, I was prepared to add extra height and a second fence of monofilament wire.
Budget Fence Posts
So, now, I had 100 feet of fencing for CA$50. What about fence posts? At that time, there was no budget for fence posts. So I went to a local discount store and bought the largest bamboo garden stakes I could find. They were in bundles, and I paid about CA$1.25 apiece. Initially, I thought these were great, but sometimes they would split when I tried to drive them in deeply. I also bought some hollow metal ones with plastic pointed ends that drove in a bit better.
I had never built a fence, and it didn’t occur to me to watch any videos online. How hard could it be? In retrospect, it probably could have helped.
I started with about 20 post locations, so every 5 feet. I would wait for rain and pound them in the next day when the ground was softer. All these posts turned out not to be too sturdy, so I doubled them up every ten feet, especially in the corners. So, my total cost on the fence posts was likely around $40.
What about the Rabbits?
Yes, I realized that some rabbits could squeeze through the holes in the snow fence. To block the rabbits out, I picked up some garden mesh from a dollar store. I needed five rolls of 20 feet long, which were a few bucks each. I tied it to the interior of the snow fencing every few feet with garden twist tie wire. To block access at the bottom, I got free lumber from a local hardware store. These were boards that had arrived at the store as spacers on skids or in lumber piles. They were about the size of a two by four and about 3 feet long. I just lay them on the ground inside the snow fence on top of the mesh.
If any readers are concerned only about rabbits, you could use only this mesh idea with lighter and shorter bamboo poles. I did this for my separate herb garden, and it is working fine so far.
Build a Fence on a Budget: Price and Performance
The total cost of this fence was pretty low:
- Two rolls of snow fencing: CA$50 ($40US)
- Thirty makeshift fence posts: CA$40 ($32US)
- Rabbit mesh and twist ties: CA$20 ($16US)
TOTAL: CA$110 ($87)
This fence was very effective and kept my garden safe for a minimal investment. I had no losses due to rabbits or deer that I could tell. Yes, in the future, I plan to build a more sturdy and prettier fence. However, on my first try, I consider it a big success.
Sitting on the Fence?
Have you ever built a fence on a budget? What critters do you need to protect your garden from, whether flowers or vegetables? Do you have any other tips? Please share with us in the comments below.


7 thoughts on “How to Build a Fence on a Shoestring Budget”
Interesting fence. Matching materials are nice. I use unmatched tee posts and odds and ends of free metal fencing. More for trelissing than fencing. Still I’ve scored enough chicken wire for a large pen.
My first little garden here has a dry laid cinderblock wall and raised beds with metal king-sized headboards on top of the outer wall. I love my little garden area. The two gates are 1. An arm piece from a pretty daybed 2. A crib end filled in with wire fencing.
Hi Clergylady, Oh, your first little garden sounds charming with its repurposed gates! What do you grow in there? I admire your score of the chicken wire. I’m always on the lookout for some more of that. It sure comes in handy!
Very inspirational post, I would like to hear more about your 1/2 acre homestead.
Hi Nina, Thank you for your kind words! I love to write about my Half-Acre Homestead. I am planning to launch a website soon that will share a lot about what I do there and when it is launched, my bio will have a link to it, so you can keep an eye out for that! In the meantime, here are some of the highlights: Everything I do is aimed at living closely with the earth and learning simple off-grid ways to do things so that I can be as self-sufficient as possible. I grow a great deal of my own food on my land, having expanded my garden to almost 900 square feet this year. I experiment with old farm methods of food storage that don’t require electricity. like leaving it in protected trenches under the snow in the winter. I collect medicinal plants that grow on my land and make numerous remedies, which I share freely with anyone local who has a health need. I leave part of my land “natural” to support the native pollinators, like bumble bees, as well as Monarch Butterflies. Even in my vegetable garden, if a milkweed plant grows, I generally just leave it be! I lived in a tiny house for five years completely off-grid while I built my dream eco-cabin. I just moved into that this past spring. There’s still a lot to do, yet, but it is great to have accomplished that. I hope this gives you a good introduction to HAH. Thanks so much for your interest and hope to see you on my soon-to-be website!
I tried building a yard fence after the posts for it detiorated, and didn’t want to get a post digger to help me with the post holes. I redug the old posts out, which made the holes super wide in order to get under all the concrete that anchored the posts in. I also bought a foaming agent that would not cause the wood to eventually detiorate, bought at ‘Dome Hepot.’
In hindsite, the foam didn’t work because the holes were to large and the posts didn’t anchor well enough without doubling up on the foam, which still wasn’t the greatest.
I think I should’ve created new post holes (so the holes wouldn’t be so big) – and coated the wood in a sealant before plunging it into concrete (which is pourous and lets water in eventually).
I just wanted to share that in case people either came across the foam or wondered where was the instructions on creating a yard fence (the title gave me that impression).
I will say, my mother in law has used the snow fence for her farm and it works great for snow lol….
Hi Justin, There’s nothing like good old experience as a teacher! Thanks for sharing what you learned about yard fence construction. That is a particularly useful warning about the limits of the foam. I agree that getting a post digger can be a big production. My cousin built a yard fence for her horses last year, and it required: a tractor to run the digger, a float truck to get the tractor to her land, the post hold digger itself! Thankfully, we have farmers and truckers in our family, so all of those things were free for her. In addition, it required a huge team over two days to hang and complete the fence (and it is not yet treated or painted). WHEW!
Hi y’all We have two types of mature palm trees and we trim off old fronds at least once a year . I cut the stalk away from the frond and it’s super sturdy for staking lasts several seasons . Use like bamboo maybe as short fence poles? Luv this post